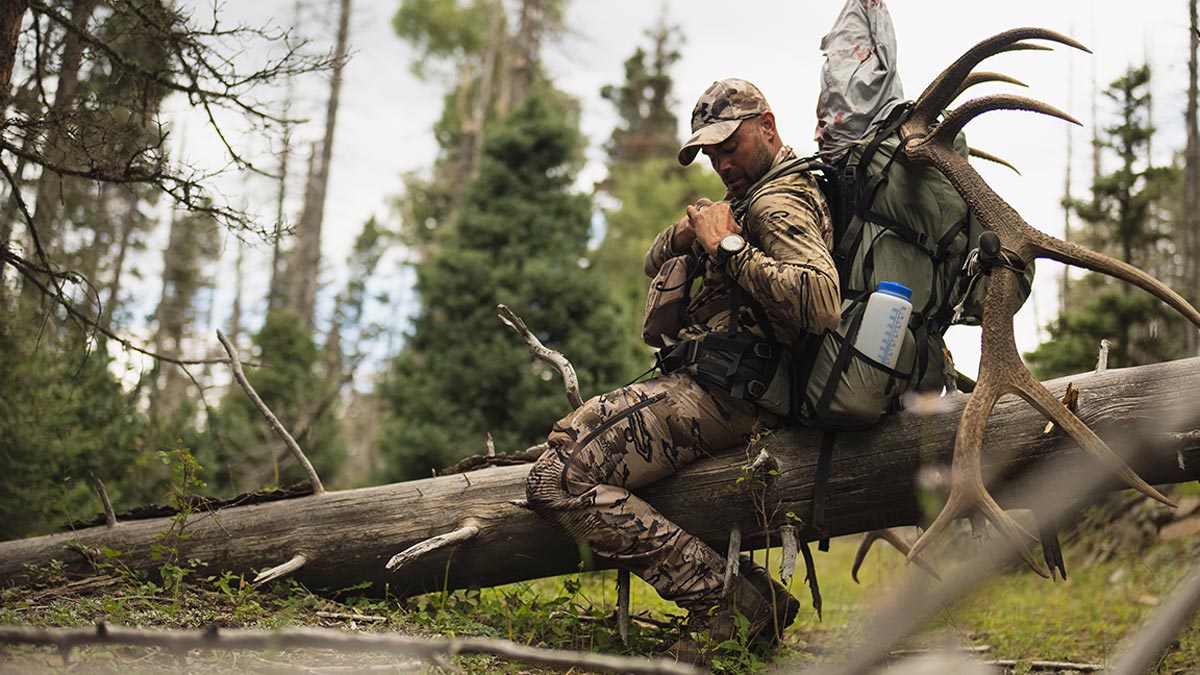
Under-flavored, over preserved, stomach busting… these are descriptions every elk hunter has used to describe store-bought freeze-dried meals. This year try something new and learn to make your own elk camp meals. Dehydrating your own meals can seem intimidating but Remi Warren walks you through several recipes to get you started this fall. When dehydrating your own meals, you know exactly what ingredients you are putting in your body and you can tailor your meal plan to the food you like to eat. Fueling your body so you can perform on the mountain is essential to arrowing or shooting your bull of a lifetime. Check Remi’s Biggest Bull to date here.
BACKCOUNTRY BURRITO
A DIY DEHYDRATED BURRITO BOWL
A DIY meal designed to fuel you on the mountain without sacrificing quality of ingredients.
Approximate nutritional value: 734 calories, 100g carbs, 61g protein.
ESTIMATED TIME:
1 – HOUR PREP. 6 – 10 HOURS OF DEHYDRATION.
ESTIMATED SERVINGS:
1 backcountry meal. During prep you can cook/prepare multiple servings at once.
EQUIPMENT NEEDED:
· Sauté pan
· Large cooking pot
· Strainer
· MEAT! 10-Tray Dehydrator
· MEAT! Vacuum Sealer+
· MEAT! Vacuum Sealer Bags
· 6 – sheets of parchment paper cut to the size of the dehydrator trays
INGREDIENTS
Note: per serving or individual meal (we recommend cooking in bulk ex: 3 cups of black beans = approximately 6 meals of ingredients or 2lbs of Venison = approximately 6 meals of ingredients).
· 1/2 cup pinto beans
· 1/2 cup black beans
· 1 cup (cooked) of Spanish, brown, or white rice
· Fresh cilantro
· Fajita mix
· 5 oz cooked venison (substitute lean ground beef, the less fat the longer shelf life/better preservation)
· 1/4 cup hatch green chilies
· 1/2 cup fresh salsa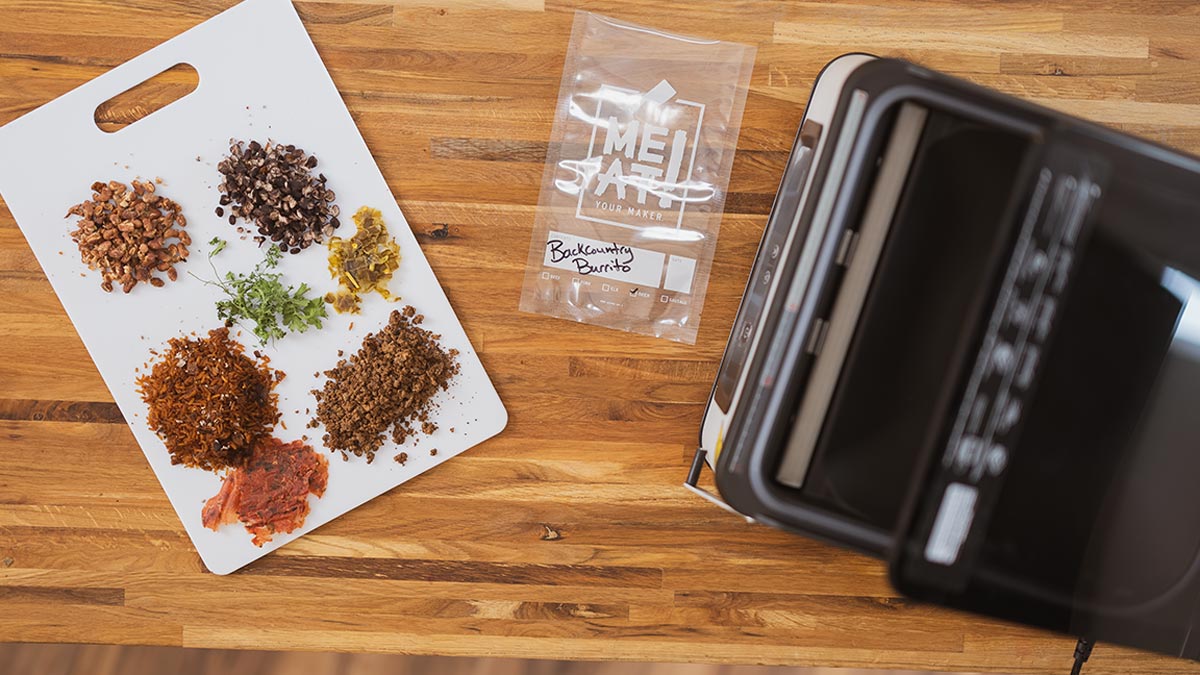
Directions:
PREP: All ingredients should be cooked to proper/safe temps prior to dehydrating.
BEANS: Strain the black and pinto beans to remove as much moisture remaining from the beans as possible. In a sauté pan, heat the beans on low heat until any reaming moisture is cooked off and set aside (be sure not to burn the beans).
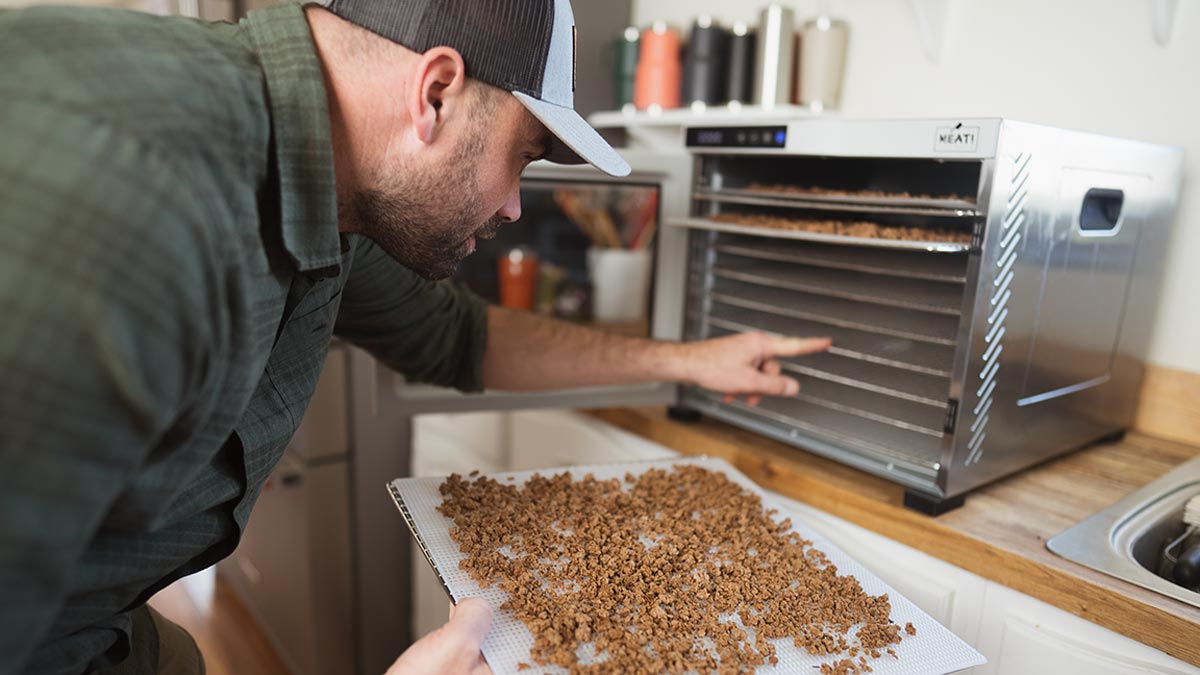
VENISON: In a sauté pan, cook the venison on medium heat until brown and crumbly. Add fajita mix, salt, and pepper to liking and set aside. (Pro tip: if the meat isn’t seasoned to liking before it’s dehydrated it’s not getting more flavor, so make sure it tastes good!)
RICE: Bring 2 cups of water to a boil in a medium sauce pan. Once boiling stir in 1 cup of rice and cook for 17 – 20 minutes or until tender. Strain any remaining water and set aside.
DEHYDRATING:
Prep by placing a piece of parchment paper on a dehydrator tray. Each individual ingredient should be on its’ own tray. Make sure the ingredients are separated and can get maximum air flow once placed into the dehydrator. Vegetables/sauce dehydrate better at lower temps (120 – 130°F) and meat at higher temps (158 – 168°F). To save time you can combine all ingredients with proper portion sizes and dehydrate at 165°F.
BEANS: Spread 1/2 cup of each type of bean on a parchment paper lined dehydrator tray. Set dehydrator to 120 – 140°F for 4-6 hours. The beans are done when they split open and are not chewy and show no signs of moisture.
VENISON: With a MEAT! Scale, portion 5 – 6 oz of venison, and spread the venison on a parchment paper-lined dehydrator tray. Set dehydrator to 158 – 160°F for 4-6 hours. Meat is done when crunchy and shows no sign of moisture or chewiness.
RICE: Spread 1 cup of rice on a parchment paper-lined dehydrator tray. Place in dehydrator and set to 120 – 140°F for 4-6 hours. Rice is done when grains are hard, not chewy, and show no signs of moisture.
GREEN CHILIES, CILANTRO, AND SALSA: Spread a thin layer of portioned green chilies on a parchment paper-lined dehydrator tray. Set the dehydrator to 120 – 140°F for 6–8 hours. Chilies are done when they become leathery to flaky. Repeat for cilantro and salsa.
SEALING:
Combine portioned ingredients into 1 MEAT! Vacuum Sealer Bag (you can use any size bag but we used the Chamber Vac 6×10). Pro tip: Double bag meals. The dehydration process can create sharp edges and when the bag compresses it can create punctures.
Seal with MEAT! Vacuum Sealer. Optional: add a food-safe silicone bag. This helps capture any unwanted moisture.
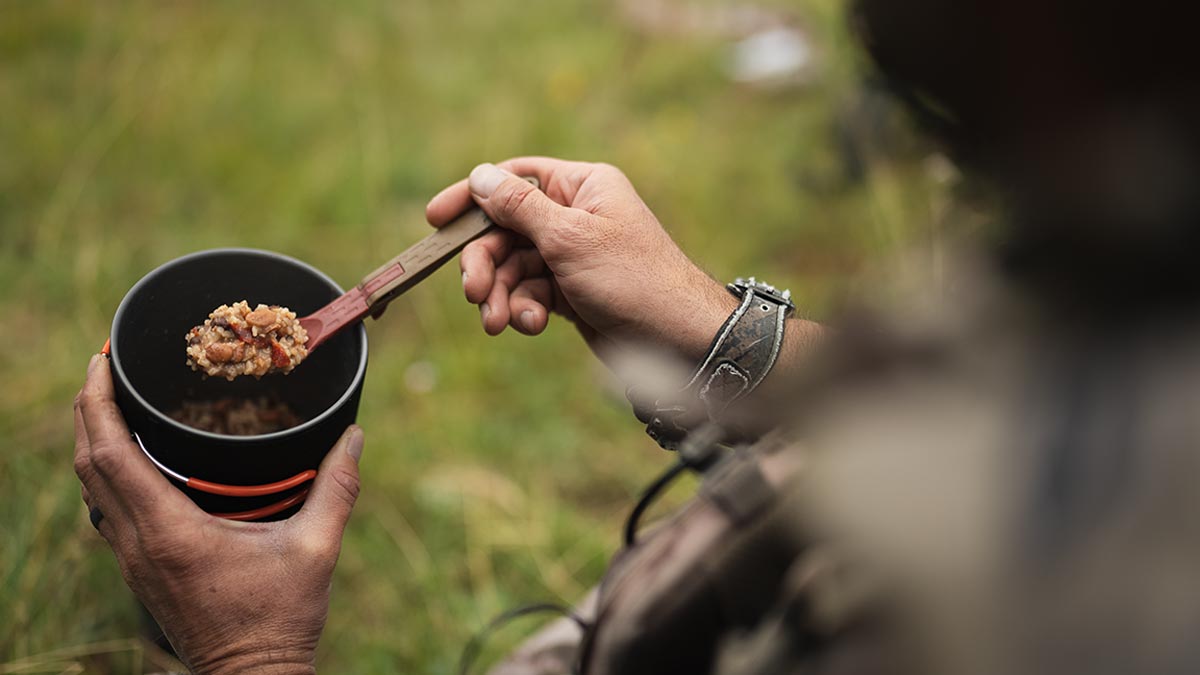
HOW TO COOK:
Add 1.5 – 2 cups of water in your jet boil.
Once boiling stir in the dehydrated burrito mix, cover, and let it simmer for 10 minutes. Stir periodically to evenly rehydrate.
Let it cool for a few minutes and enjoy!
For more recipes check out https://www.meatyourmaker.com/meat-locker/recipes/ or to enhance your meat skills check out MEAT! 101 https://www.meatyourmaker.com/meat-locker/meat-101/